ROOTED LOVE
THE JOURNAL
I'm a hopeless romantic who finds great joy in creating and capturing connection and beauty wherever I go.

Hello
welome to my blog
I am Cassandra and my passion lies in bringing the art of motherhood to light. Through fine art photography, I help mothers remember the beauty that’s woven together to create the tapestry of a childhood.
Learn more
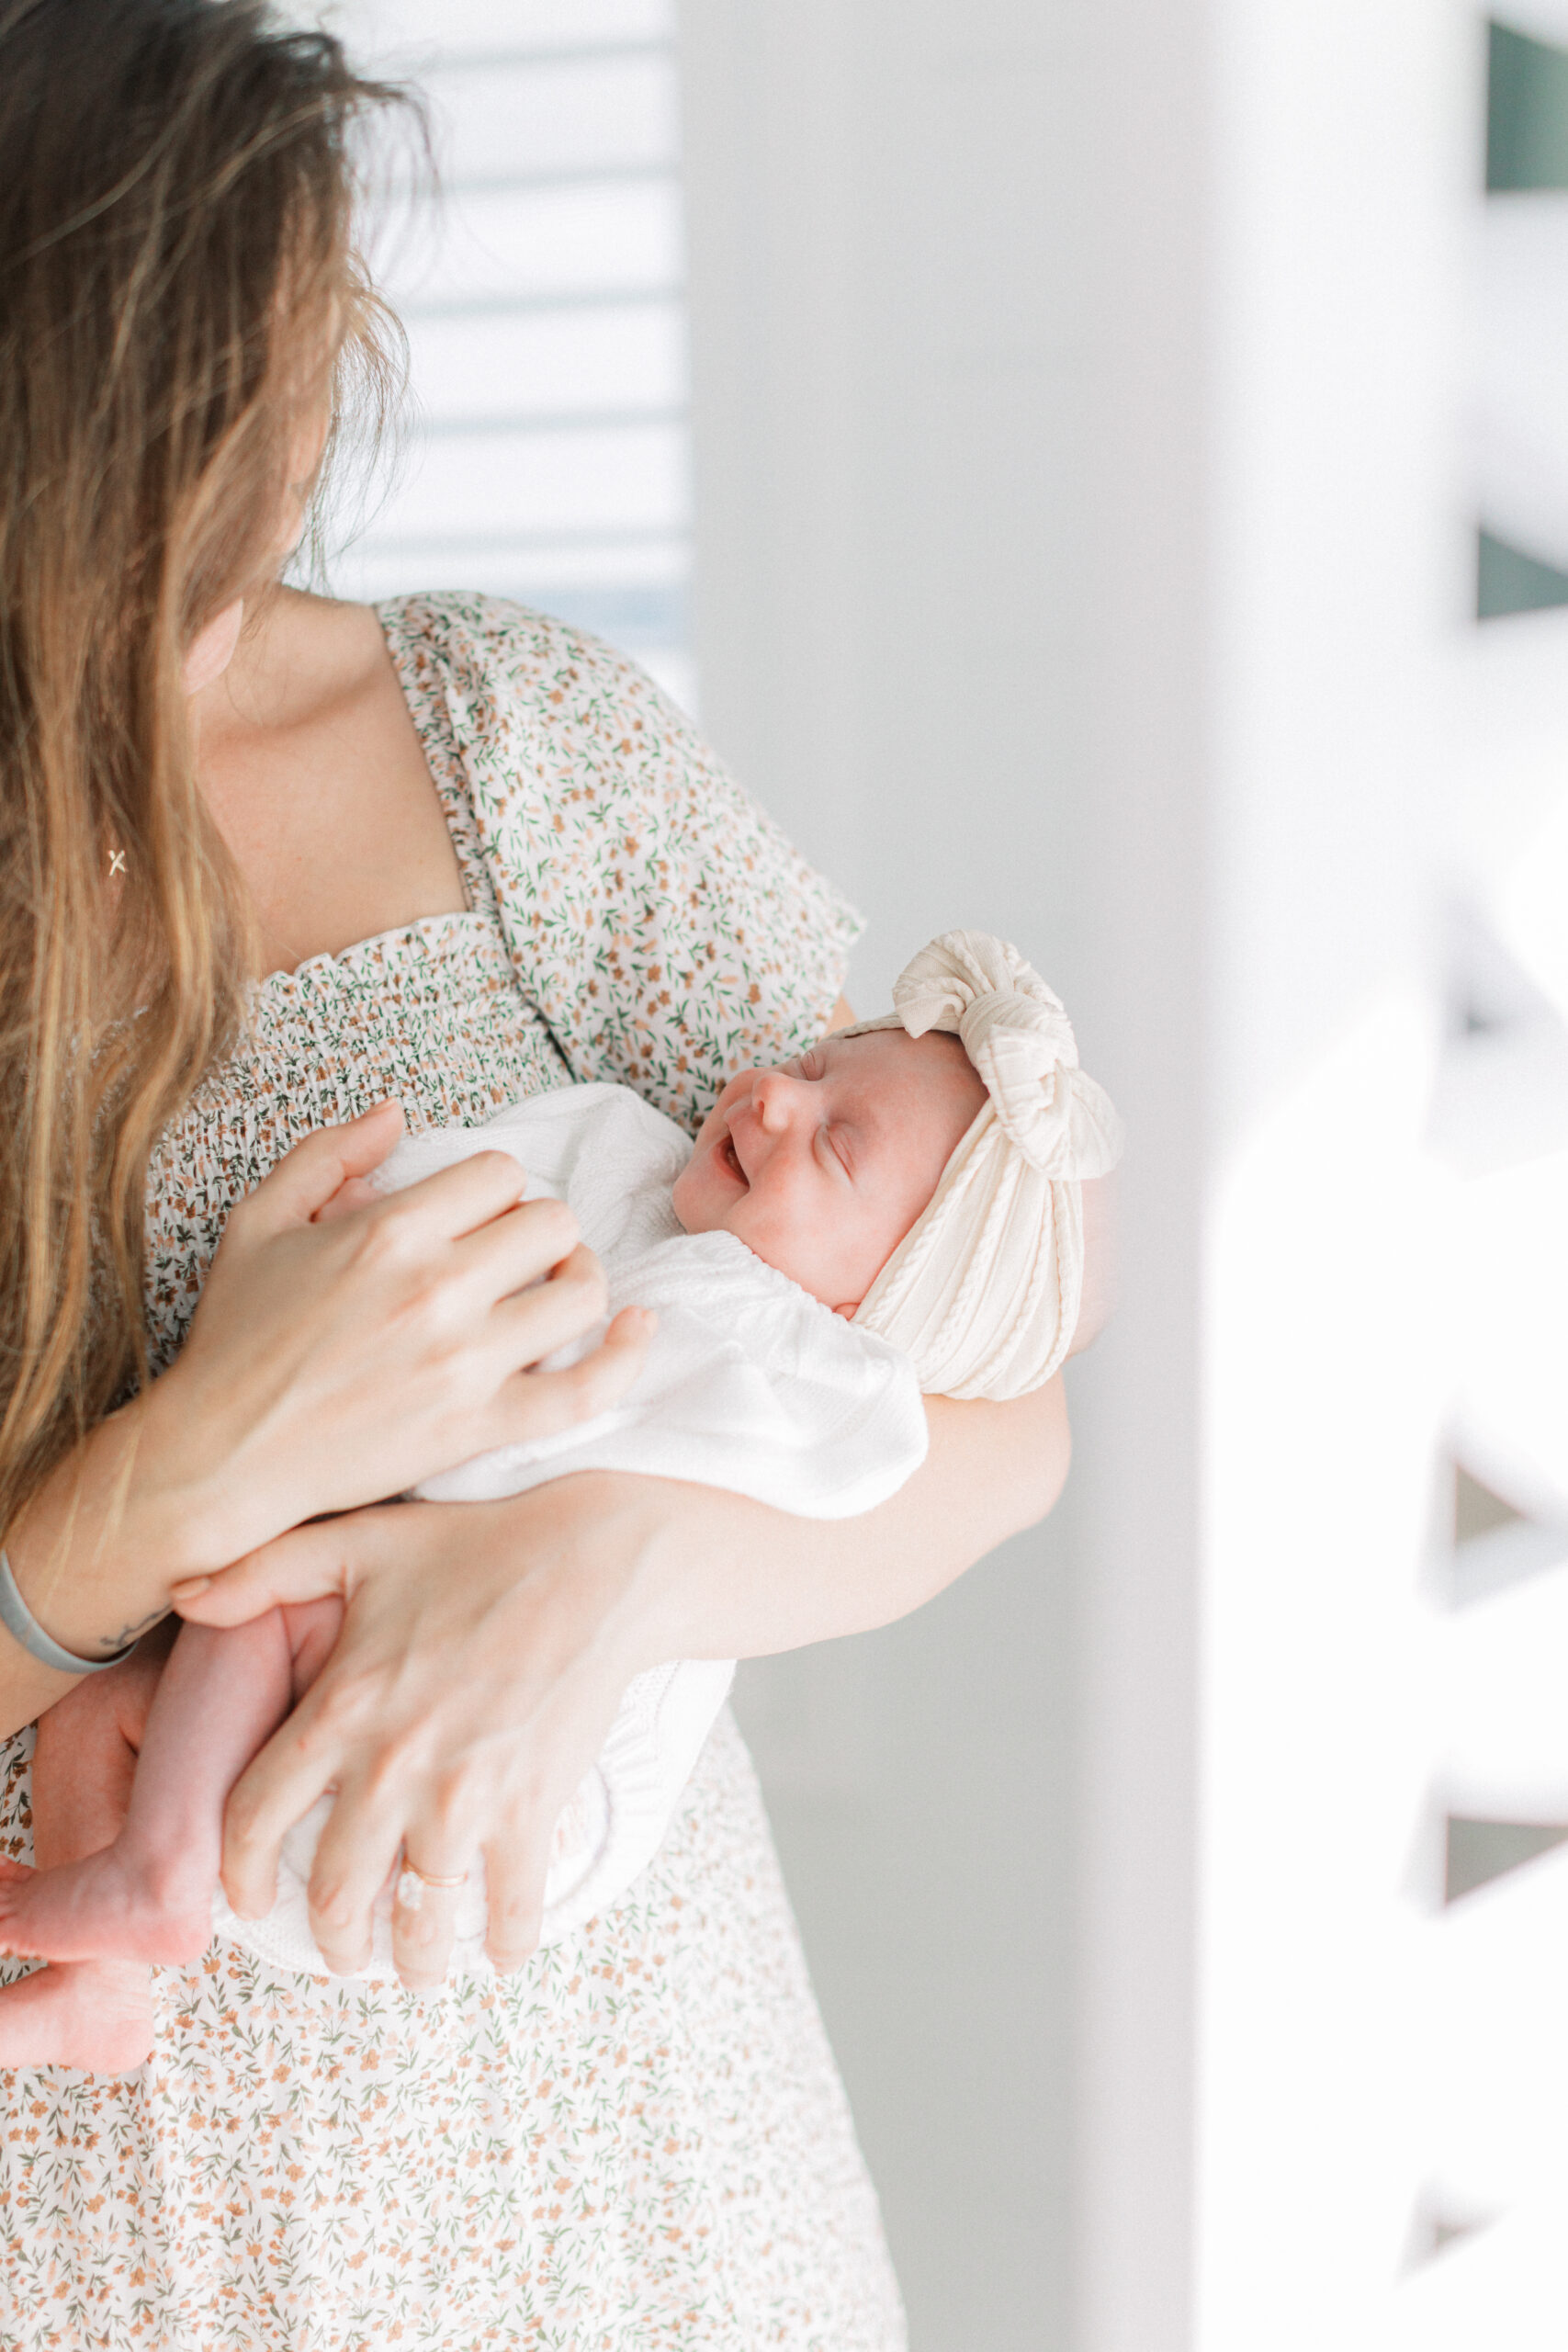
The arrival of a newborn baby completely transforms your world, seemingly halting time in its tracks. However, as you return home, time swiftly resumes, bringing with it the challenges and questions that accompany early motherhood. I am eager to share some strategies to help you navigate through the that first beautifully chaotic week with your […]
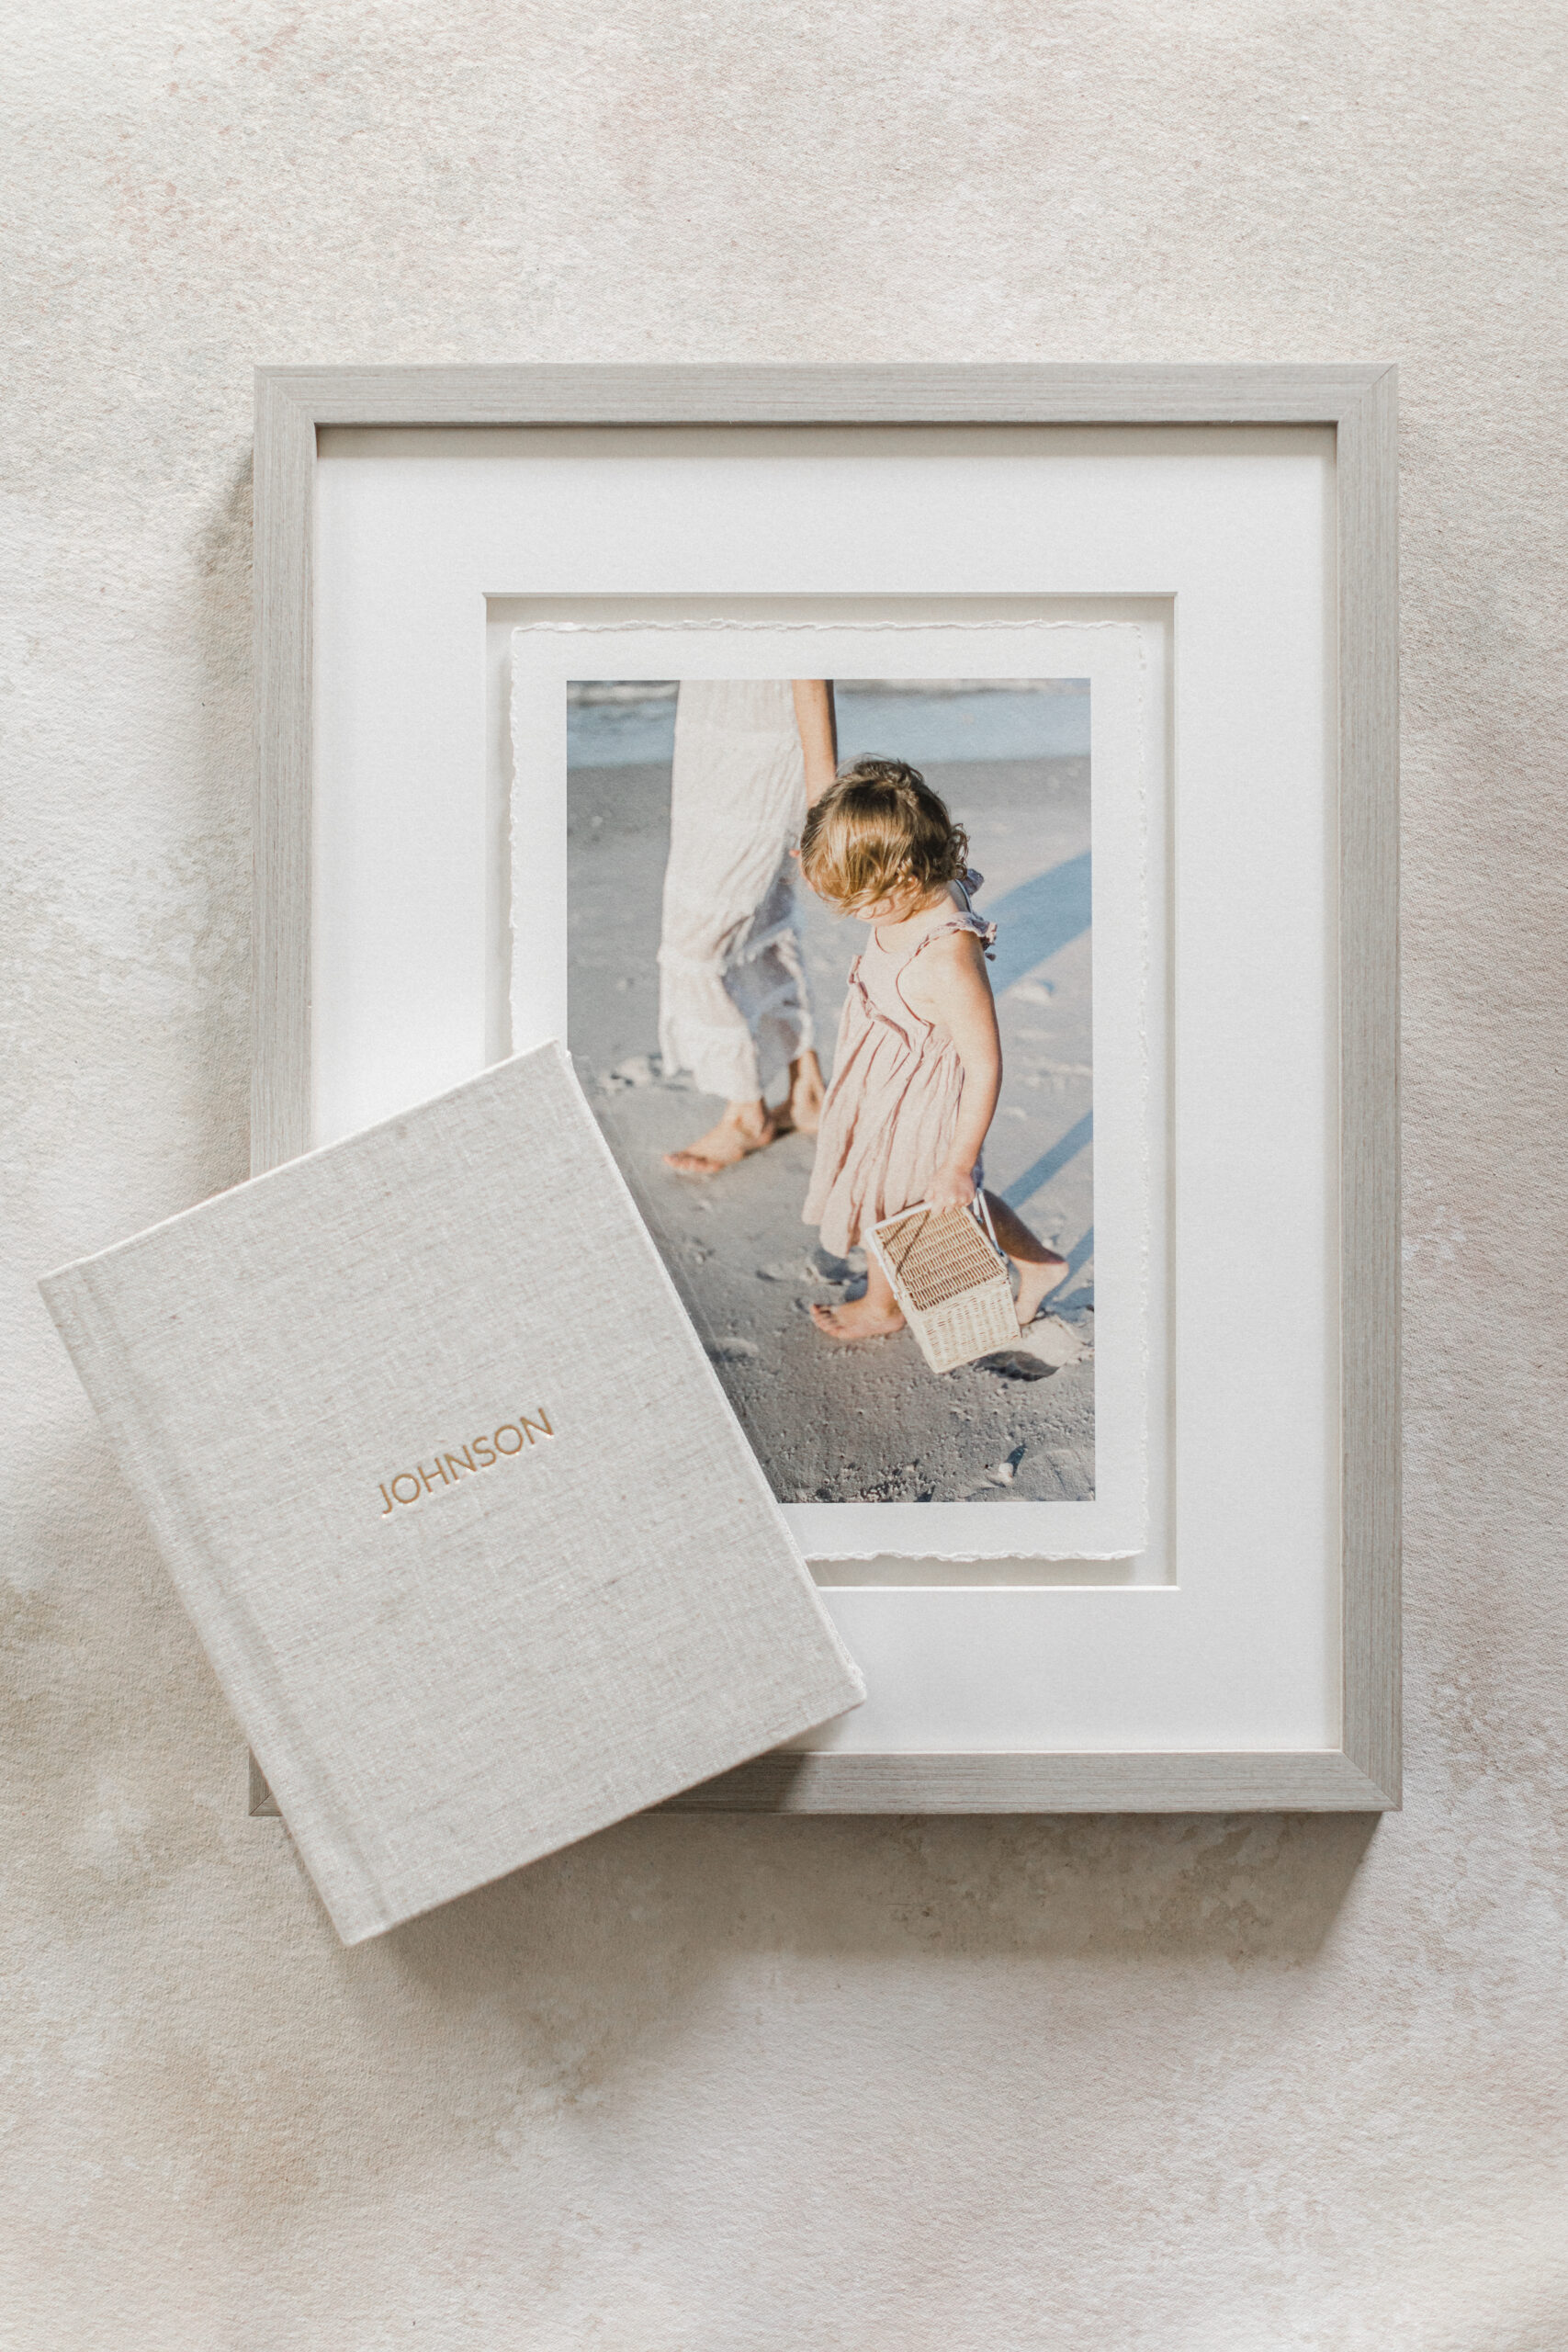
As a dedicated Orlando family photographer and a busy mother myself, I am deeply passionate about providing a personalized and hands-on photography experience to assist you every step of the way. My ultimate goal is to ensure that your photos are not just stored on a hard drive or cloud, but proudly displayed on your […]
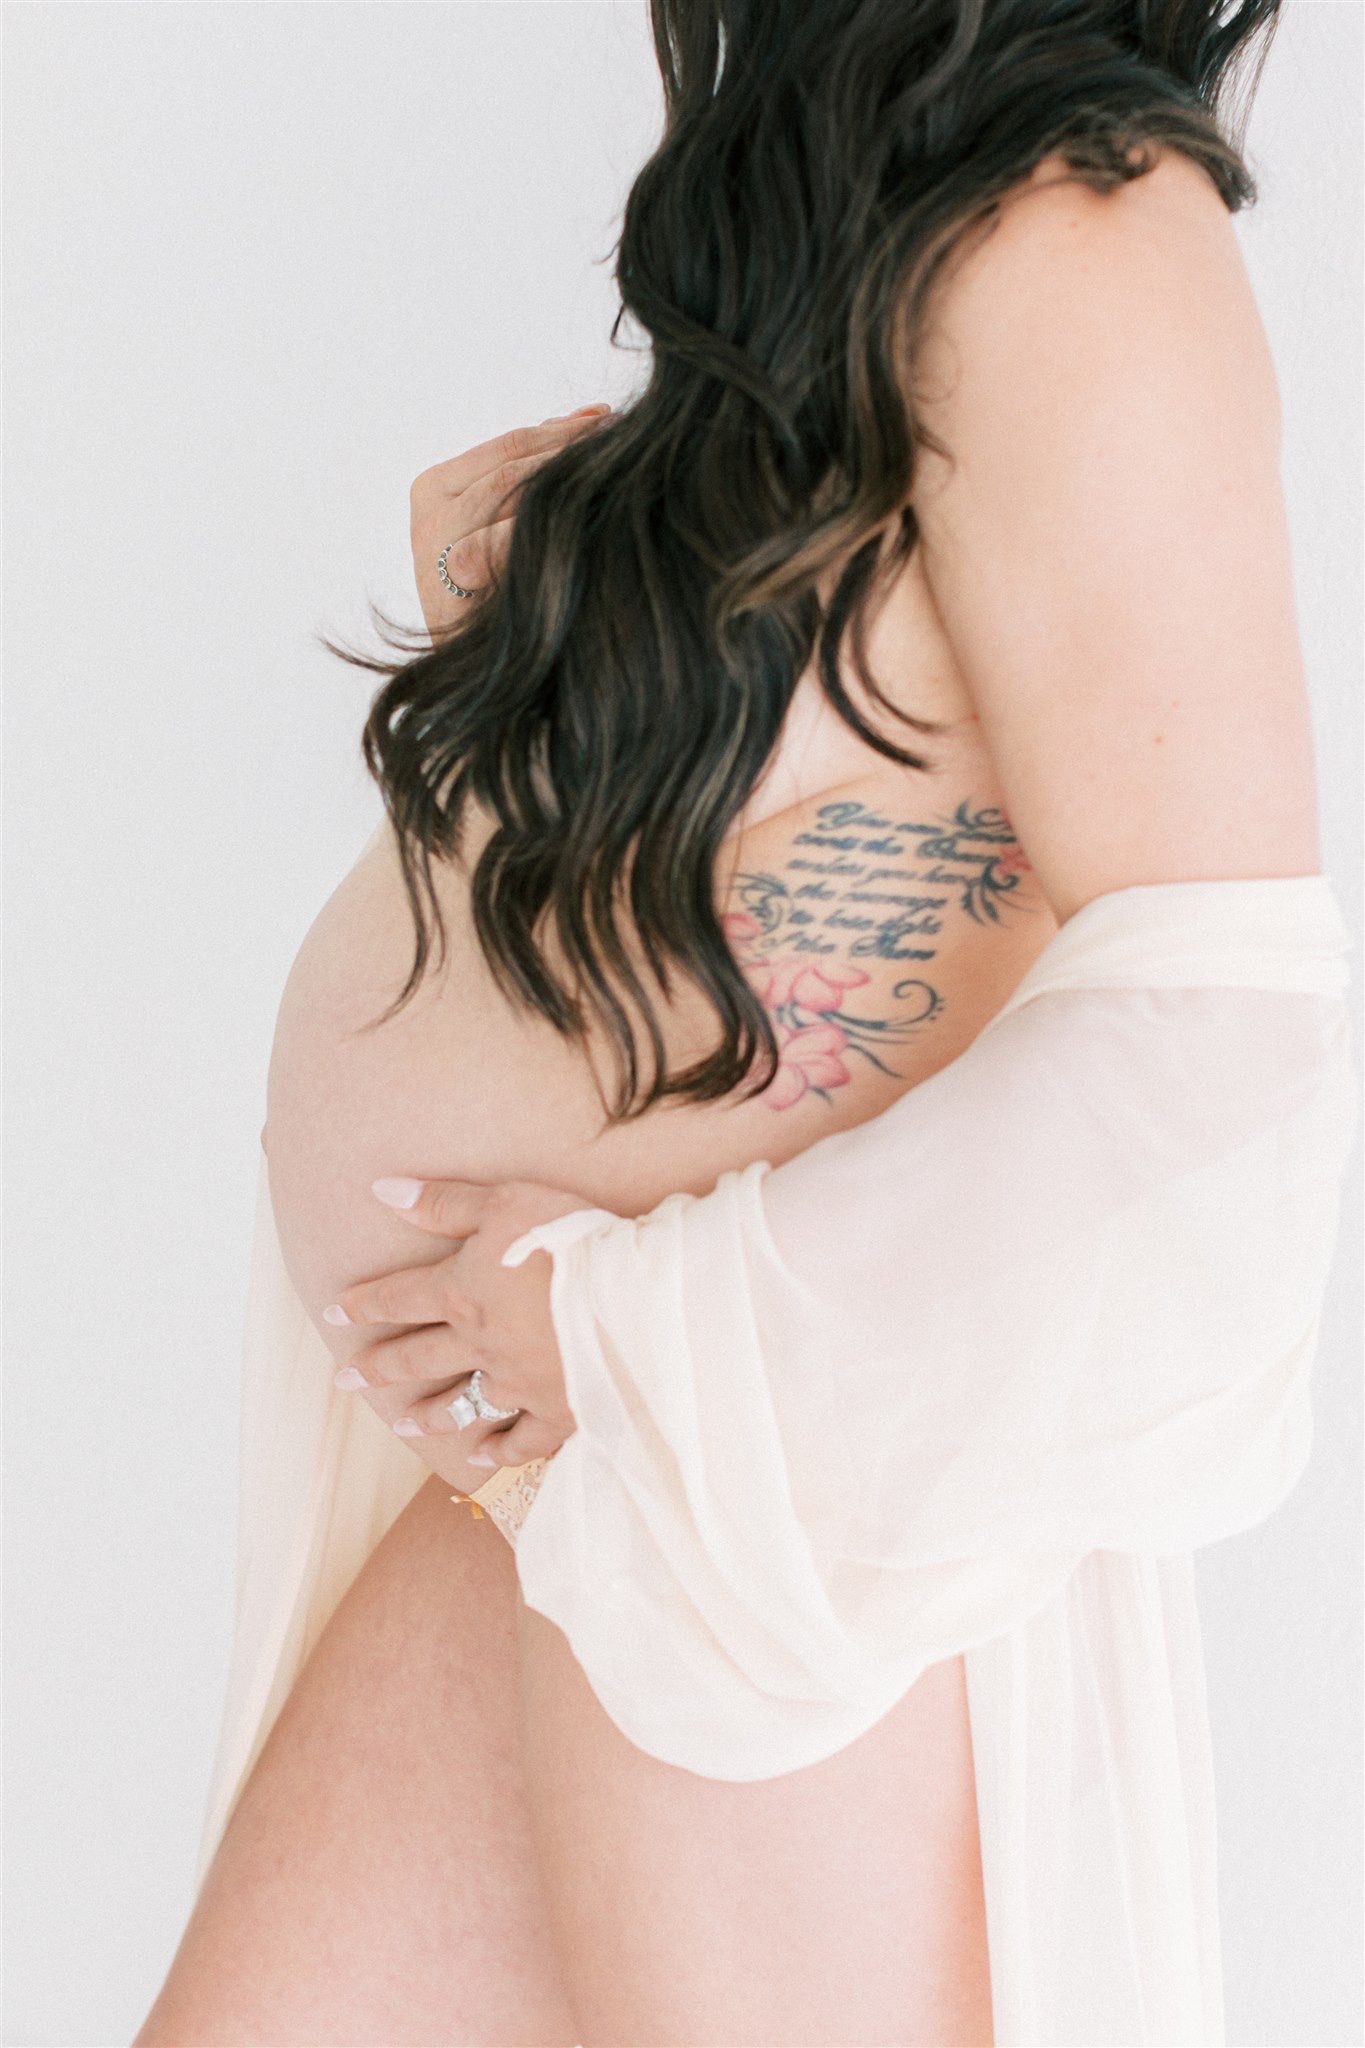
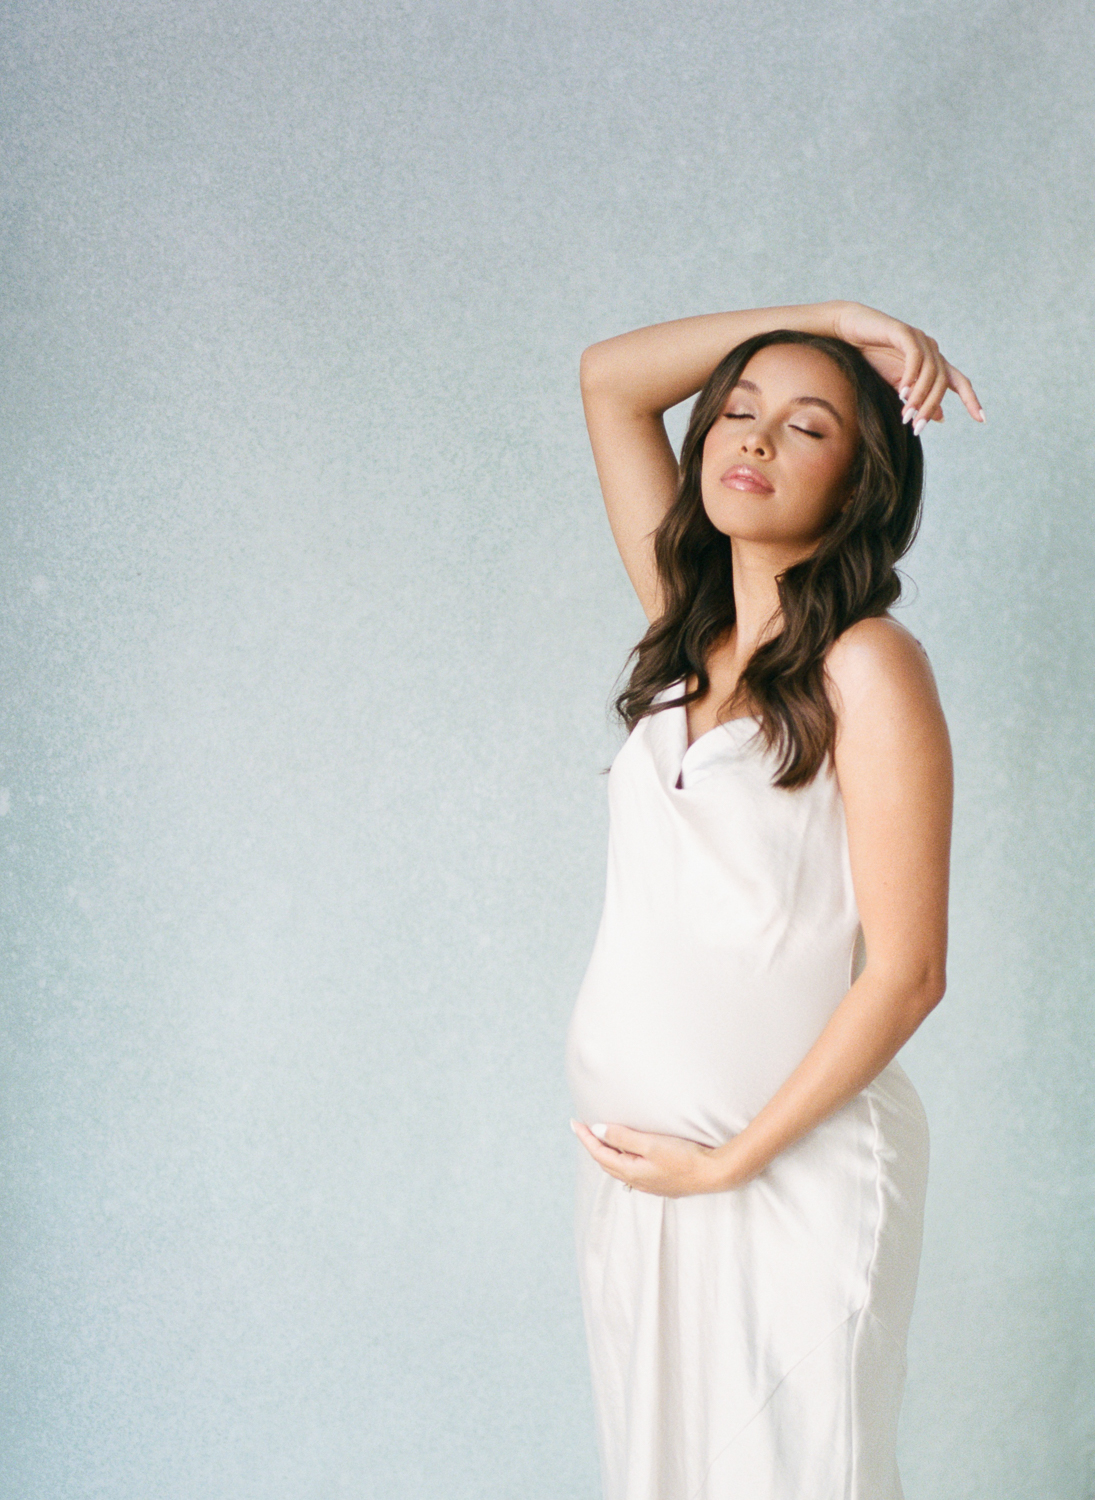
I hope you find this Guide to Orlando Birth Specialists helpful when preparing for your new baby. Your preparation requires thoughtful consideration and planning when you are determining the best birth plan for the health of you and your new baby. As an Orlando maternity and newborn photographer, I’ve worked with hundreds of new mamas before and […]
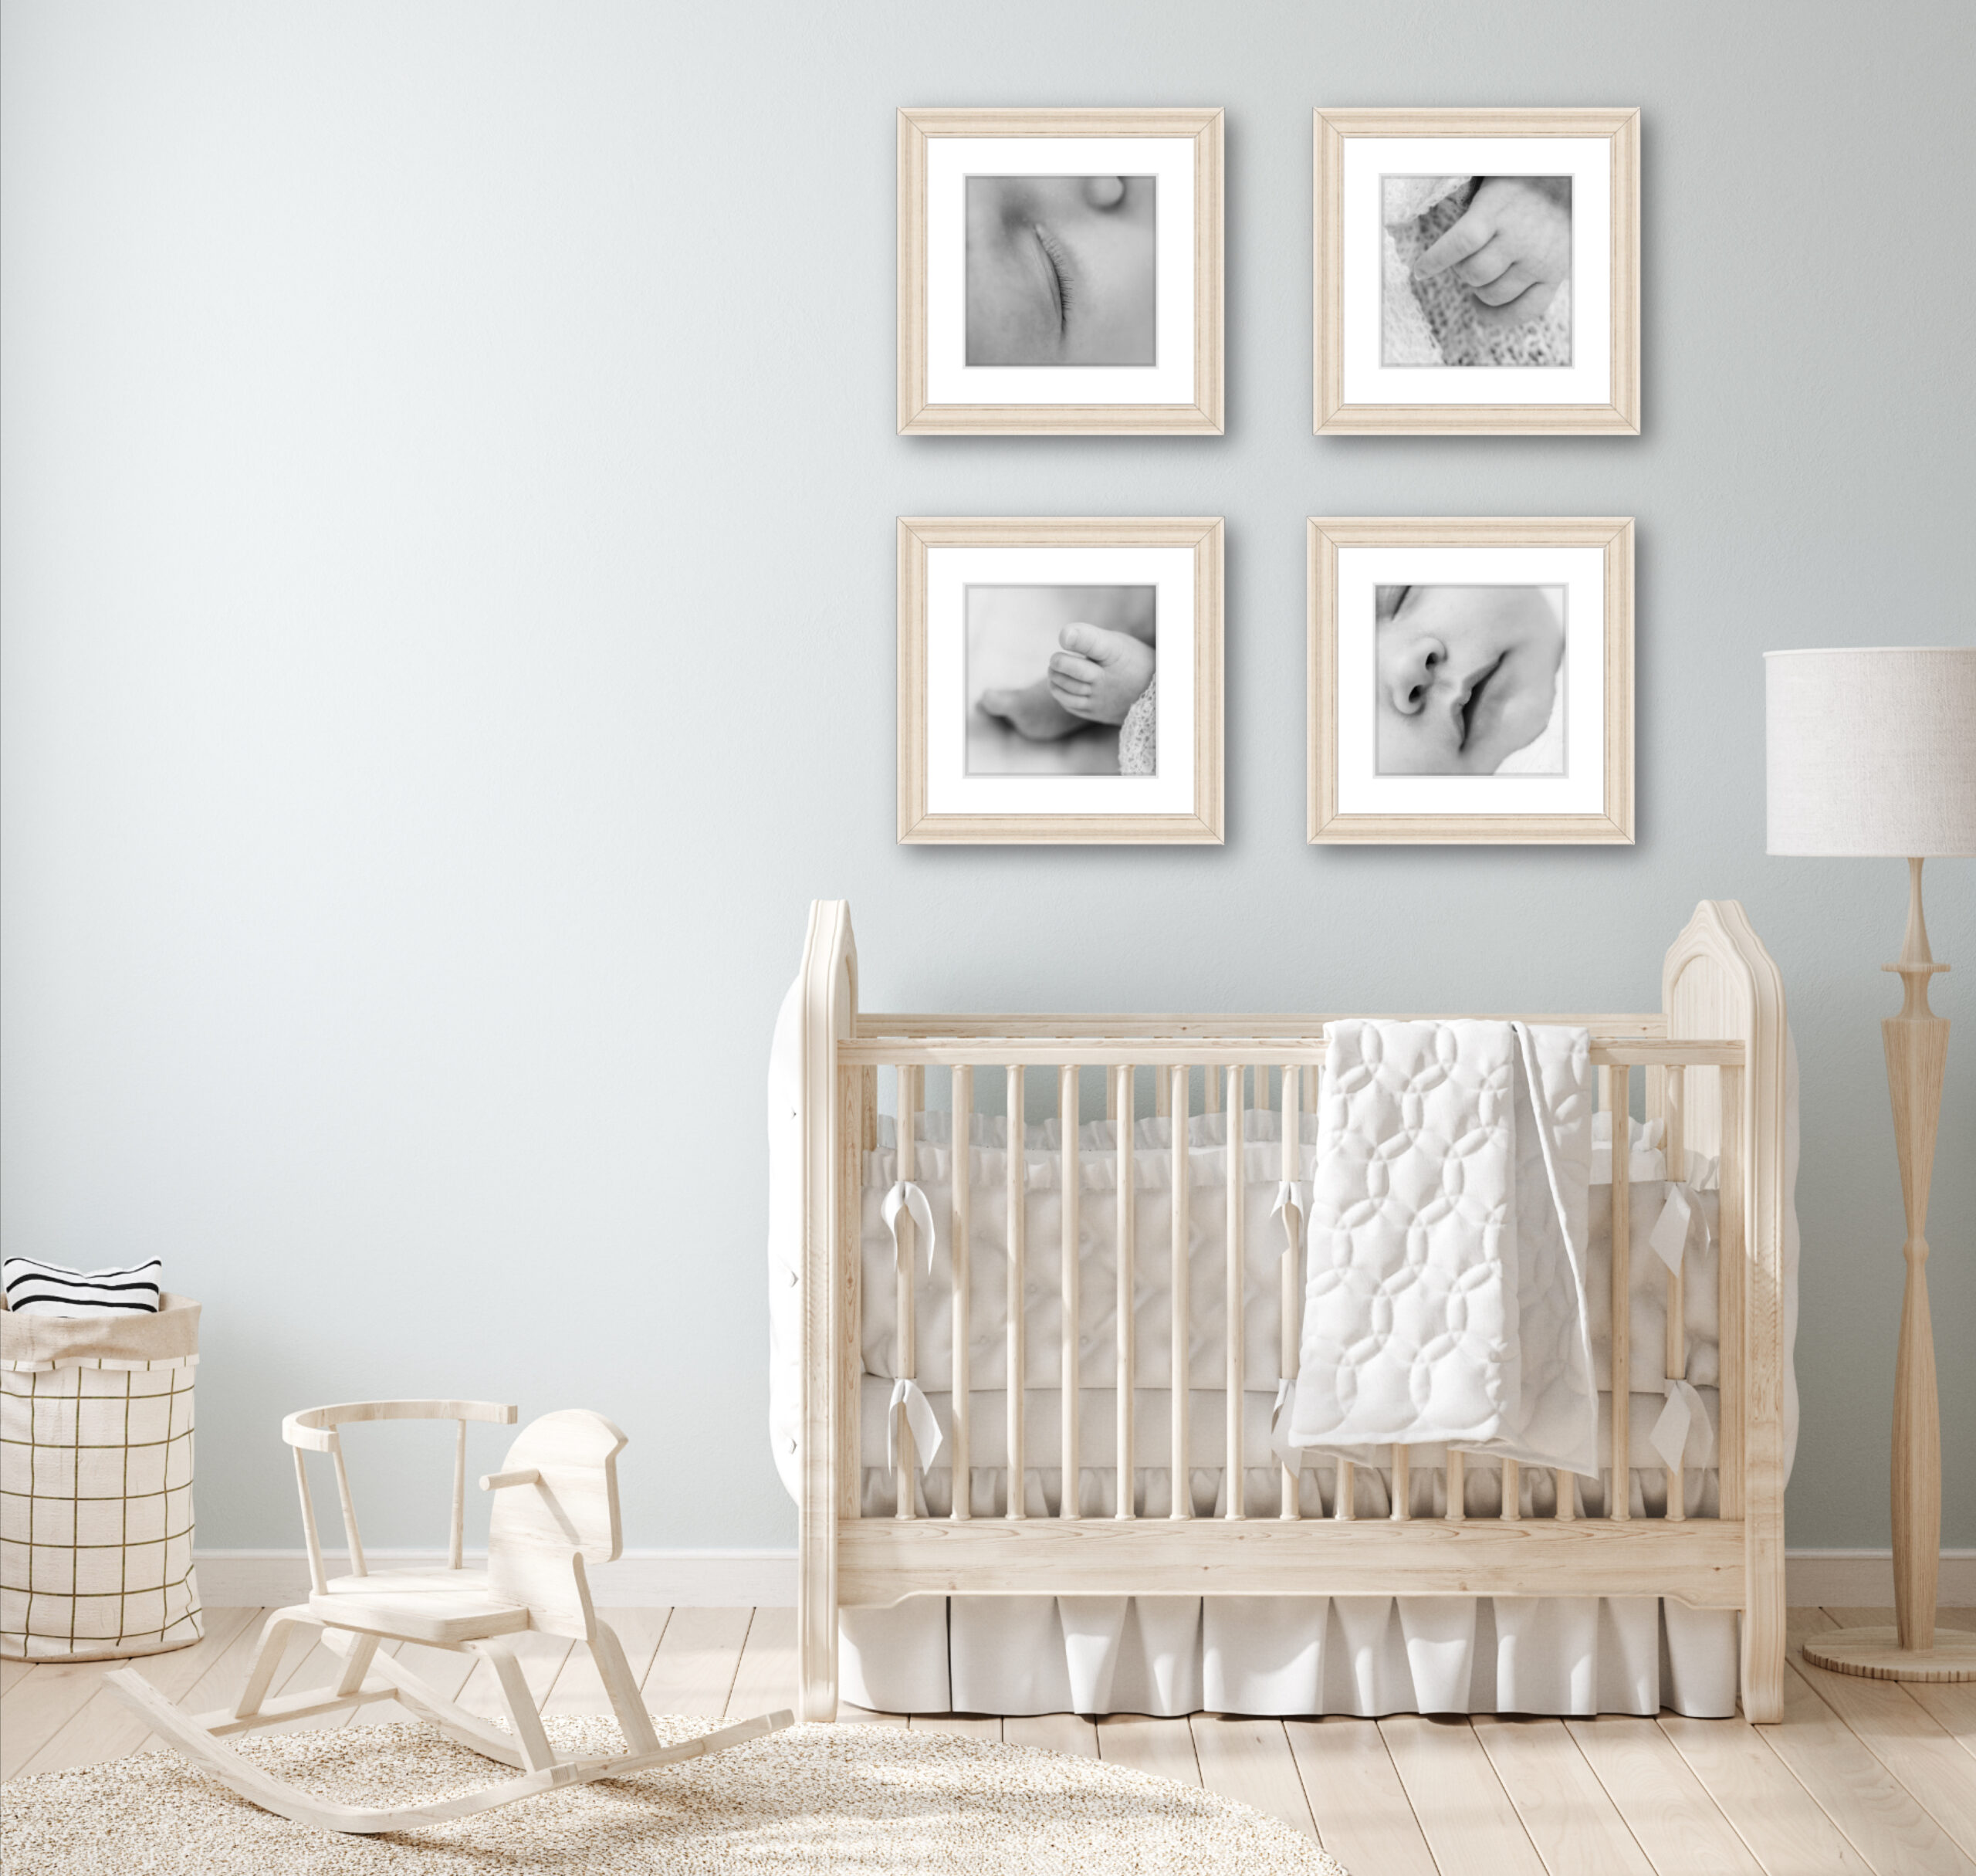
As an Orlando newborn photographer, I find that amidst the chaos and fleeting moments of a childhood we hope to foster in the best possible light, we have a special place to find comfort and happiness – our homes. As parents, we have the incredible opportunity to shape this sanctuary with the love we share […]
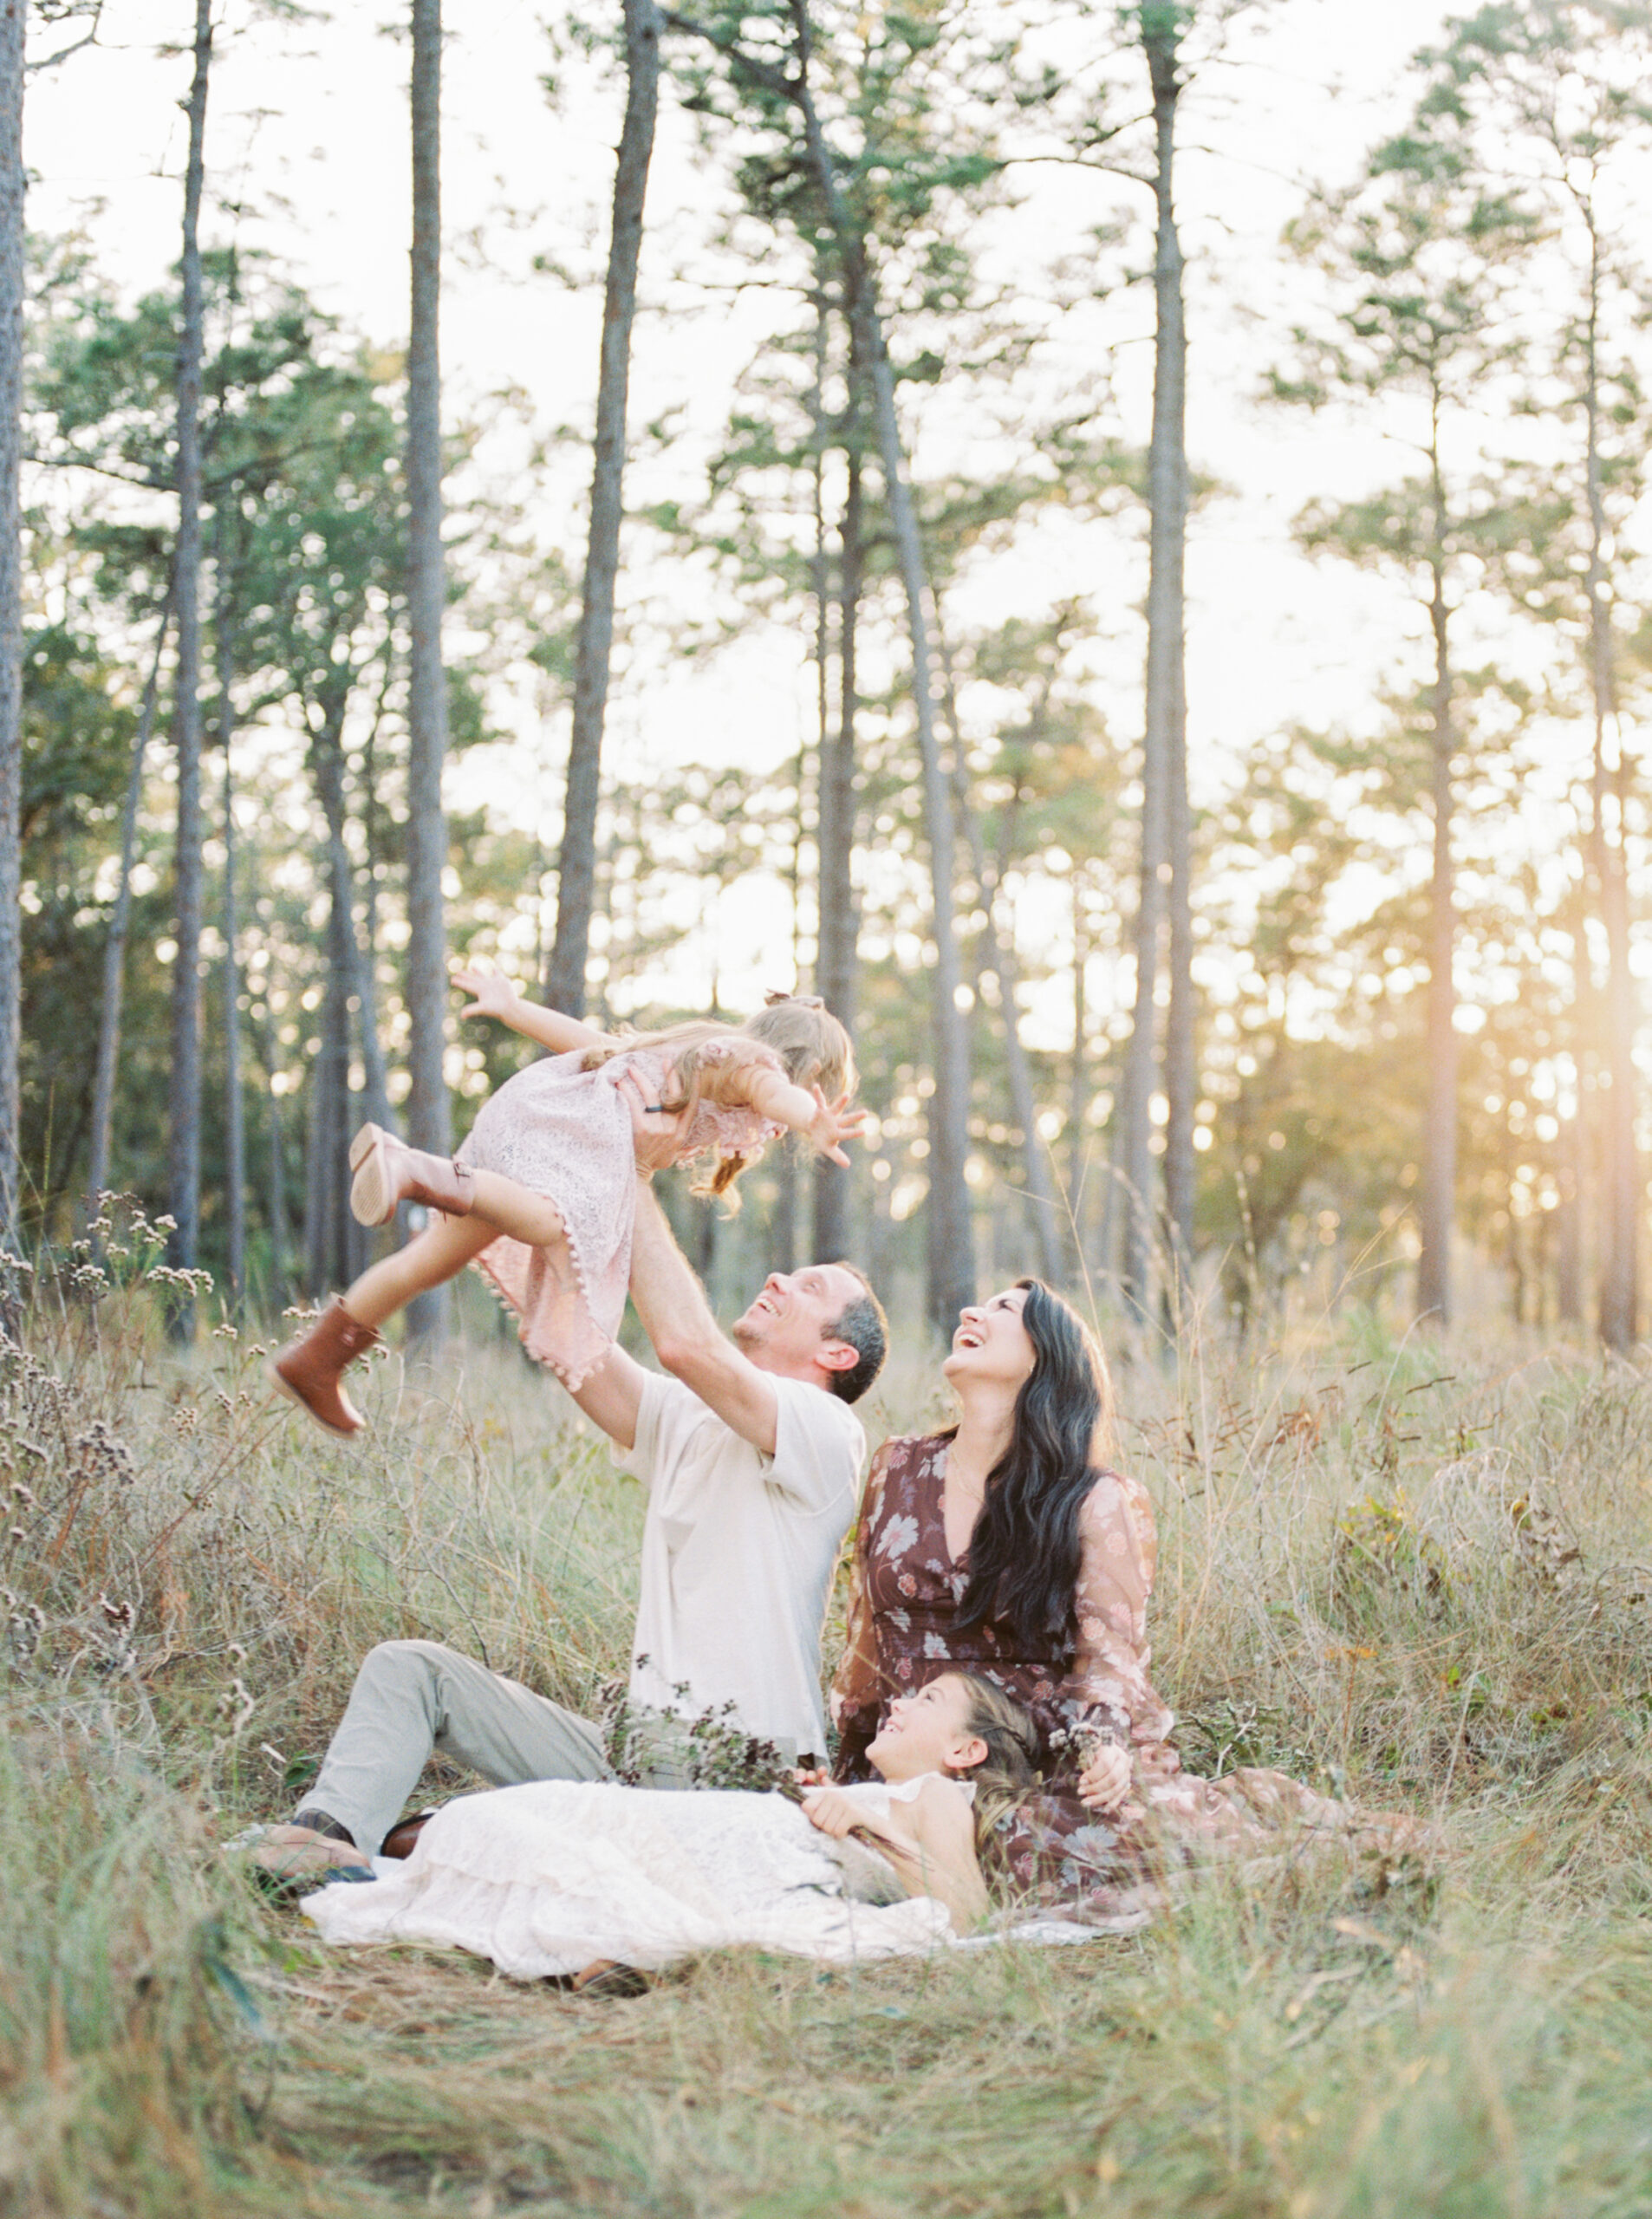
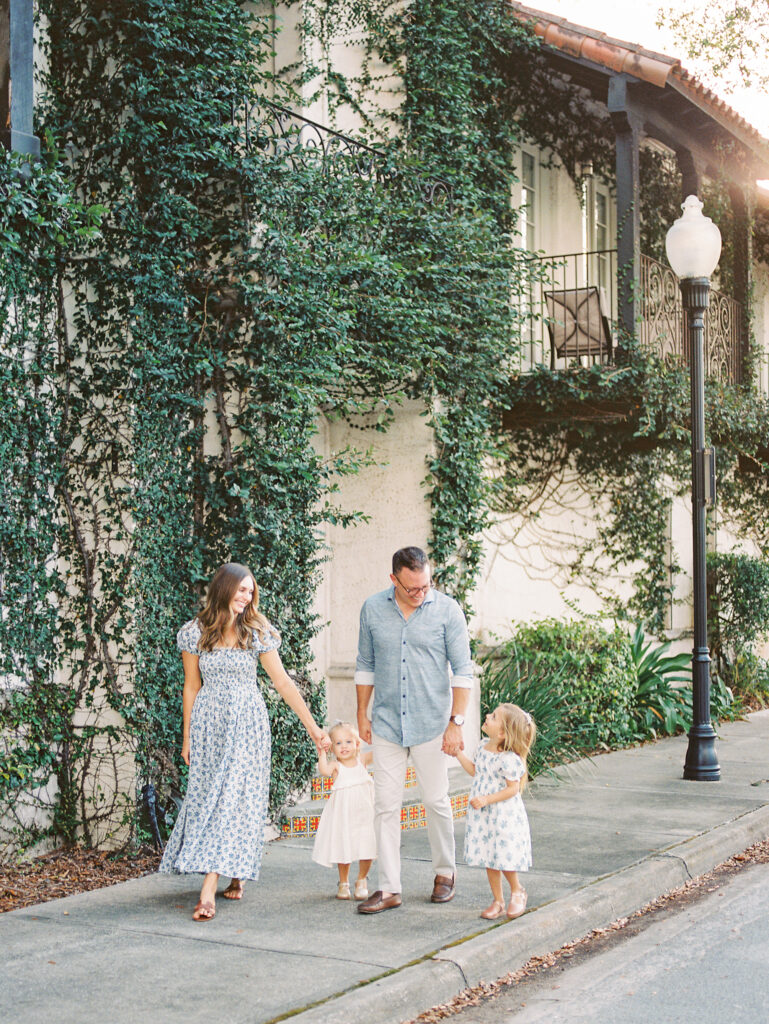
There is a special quality to capturing the love within your family through professional family portraits. It is common to wonder how often these portraits should be taken. Recommendations from a Family Photographer The answer lies in the realm of emotion and the significance these portraits hold. Family portraits are like pieces of art that […]
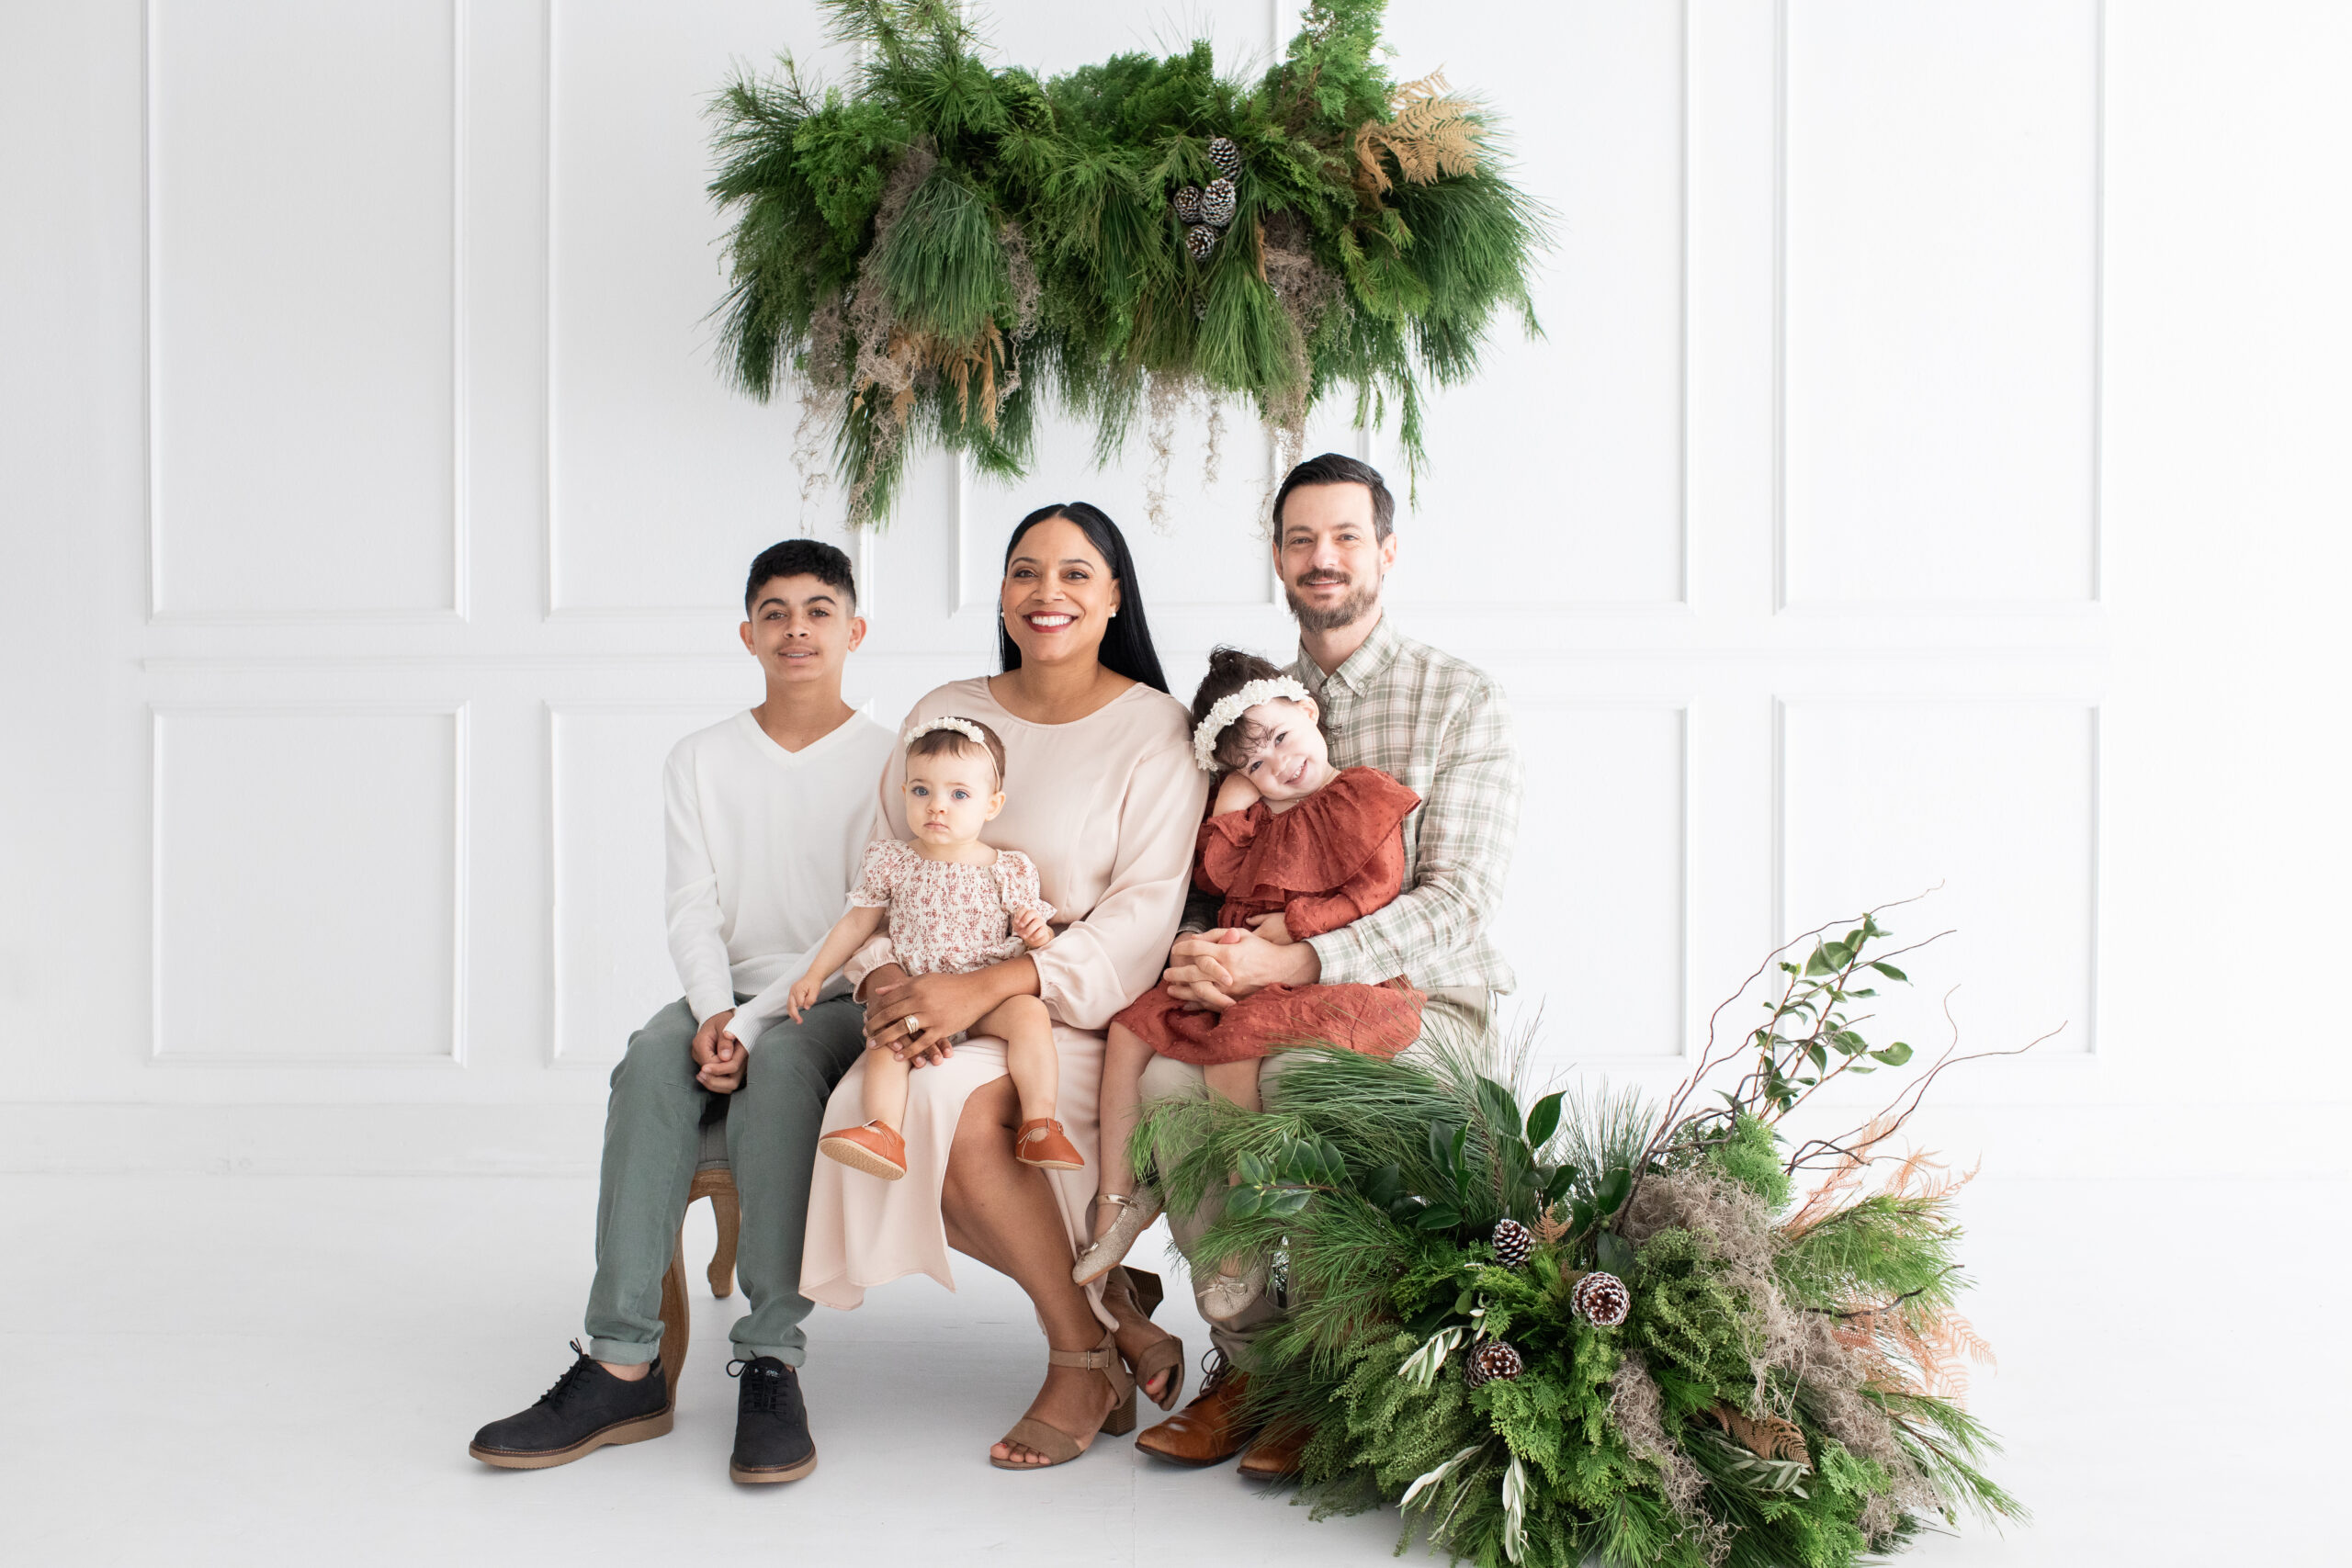
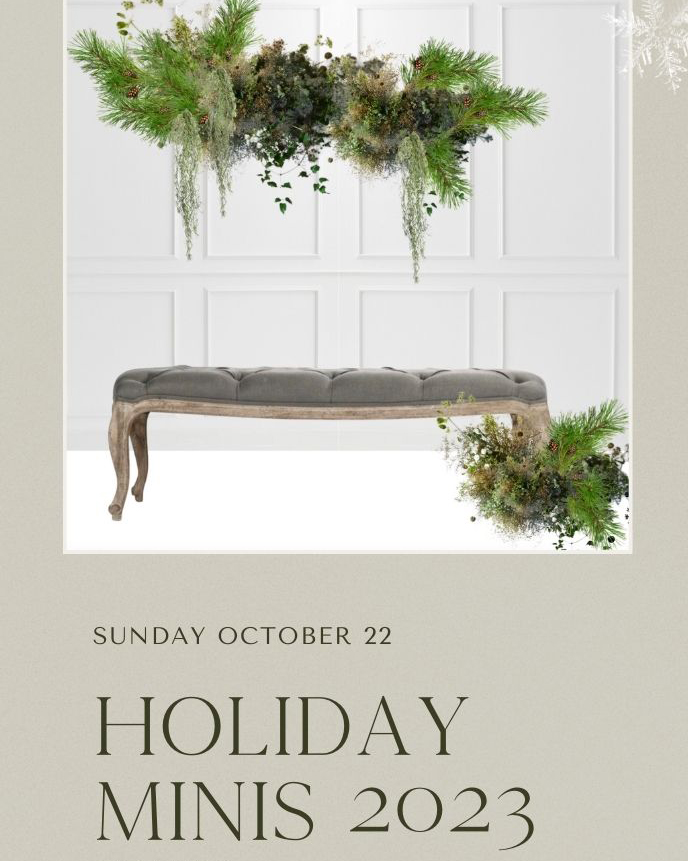
I am so excited to share with you the details for this year’s holiday mini sessions in Orlando. I’m thrilled that you’re interested in hearing more about this fun event. After all, what are the holidays without all of the beautiful memories? Nope, it is not too early to think about this!!! Put it on the […]
Happy fall! The temperature cooled down just a touch and we actually sat outside for dinner over the weekend. It was lovely. We are changing up the dinner menu at home this week and I am making this eggplant lasagna for dinner tonight. I got the green light from Mike and we are doing this! We will […]


reader faves
© 2013 - 2023 ROOTED LOVE PHOTOGRAPHY | Orlando Newborn photographer | Maternity Photography Orlando, fl | winter Park newborn photographer


The Mother’s Guide is your FREE, 3 PART TRAINING to begin photographing your children authentically. I am revealing all of my best tips - just in time for summer vacation. Get instant access now to the training now!